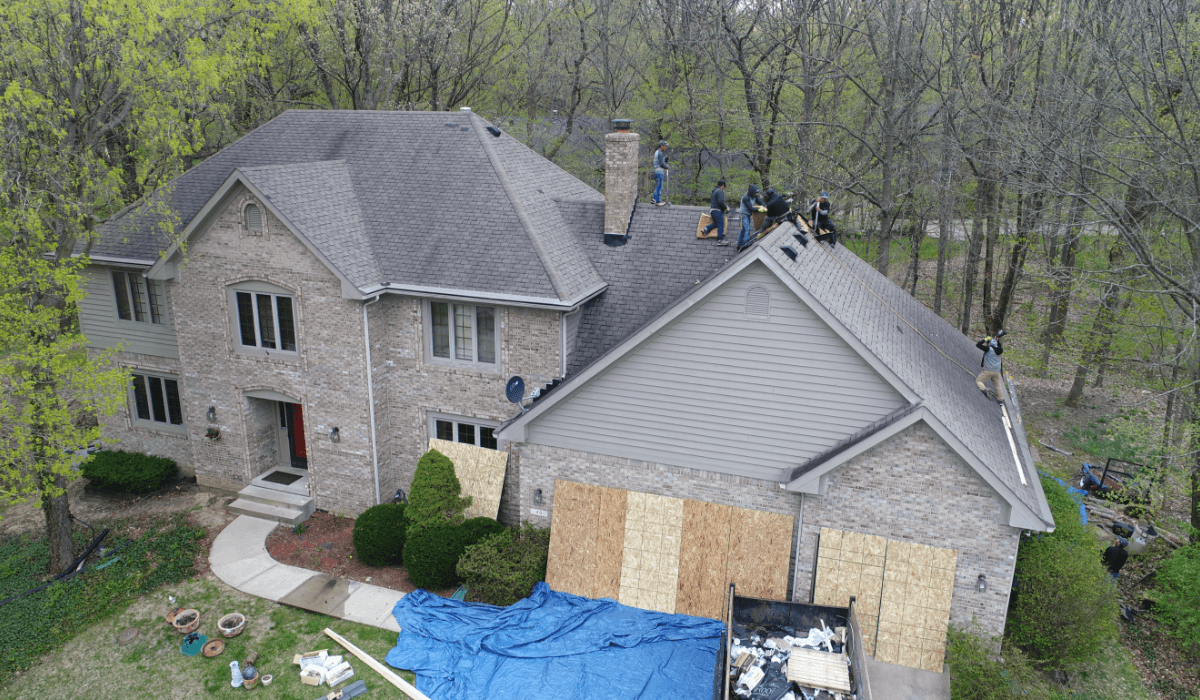
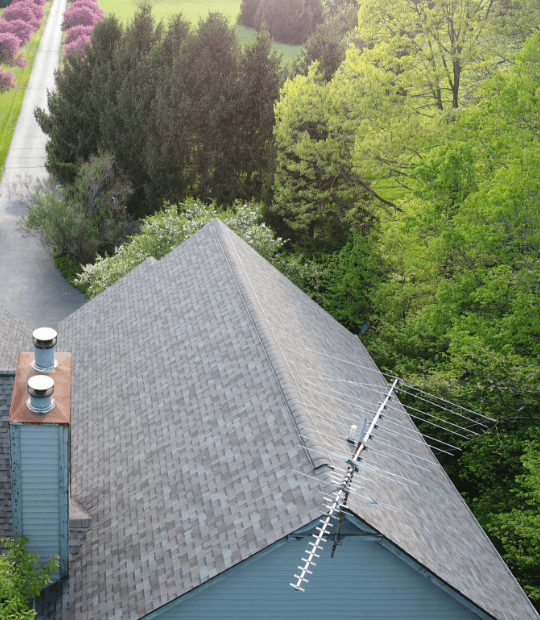
There are various reasons to replace your roof shingles. One is that the current material has aged and can no longer deflect water. Another reason is that it can be a safety issue, especially if they are brittle such as cedar wood. This could make them very noisy underfoot when walking on them or cause a person to trip and fall through the roof's compromised structure. This article will tell you how to remove old roof shingles without harming the underlying materials and install new ones in their place.
Removing Old Shingles
Tools you will need: Roofing hammer or claw hammer to break shingles loose from the roof.
Steps:
i)Remove all the old roofing material to expose the roof's fascia and rafters. The fascia runs horizontally, parallel to the ground, above the slant of a typical roof. It keeps the rain off of parts of the home that might be indoors. For example, people in attics often install insulation on top of it and extend it down into the attic itself.
ii)If you are working with a slate roof and need to remove the metal flashing on top of the shingles, you will need a sharp chisel or hacksaw blade. This metal protects the underlying wood, and as such, it is usually installed first before shingles are put in place.
iii)Make sure that you wear protective eye-wear when doing this type of job. If you don't have goggles or glasses, have someone else do it for you. This can be dangerous if flying debris gets into your eyes during the removal process.
iv)It's also essential to wear work gloves when pounding on the old roofing material that hasn't broken up yet.
Installing New Shingles
Tools you will need: Nail gun to nail down new shingles, a level for keeping your new roof slanted.
Steps:
i)Lay the first layer of shingles on the roof with the exposed edges between the rafters and fascia boards. Also, make sure that you have a level handy to help keep them even. This will help during their nailing process. If you are unfamiliar with this process, having someone with experience to show you how might be a good idea.
ii)After installing the first layer, you will need to roll a piece of paper over it to protect it from being scratched by your hammer during the installation of each new layer.
iii)When it comes time to install your final layer, make sure you lay it slanted with the brown side down. It's a good idea, in this case, to put a row of nails through each shingle at various locations on top before proceeding with the other rows. If anyone shingle is poorly installed, you can more easily remove it without damaging the others by trying to peel them off one by one.
Making Sure the New Shingles Last
These steps will help your roof shingles last as long as possible.
i)When applying roof sealant, use a brush to slather it on after aligning it along the exposed edges of in-between shingle rows.
ii) To ensure that your new roof doesn't leak, apply seam sealer where needed. This is especially true at transitions between different portions of the home's framework, such as when one type of material meets another. An example would be when 2x6s meet 2x12s.
iii)There are a couple of guidelines worth considering when installing new shingles on your house or business structure. The first is to start with the lower portion of your roofing and work upward. The second is always to remember to alternate which side faces up so that the next layer can slide into position more easily.


